22 November 2017
How to Make a Shepherd's Shrink Cup, Part 1 (Or How It Crossed My Mind)
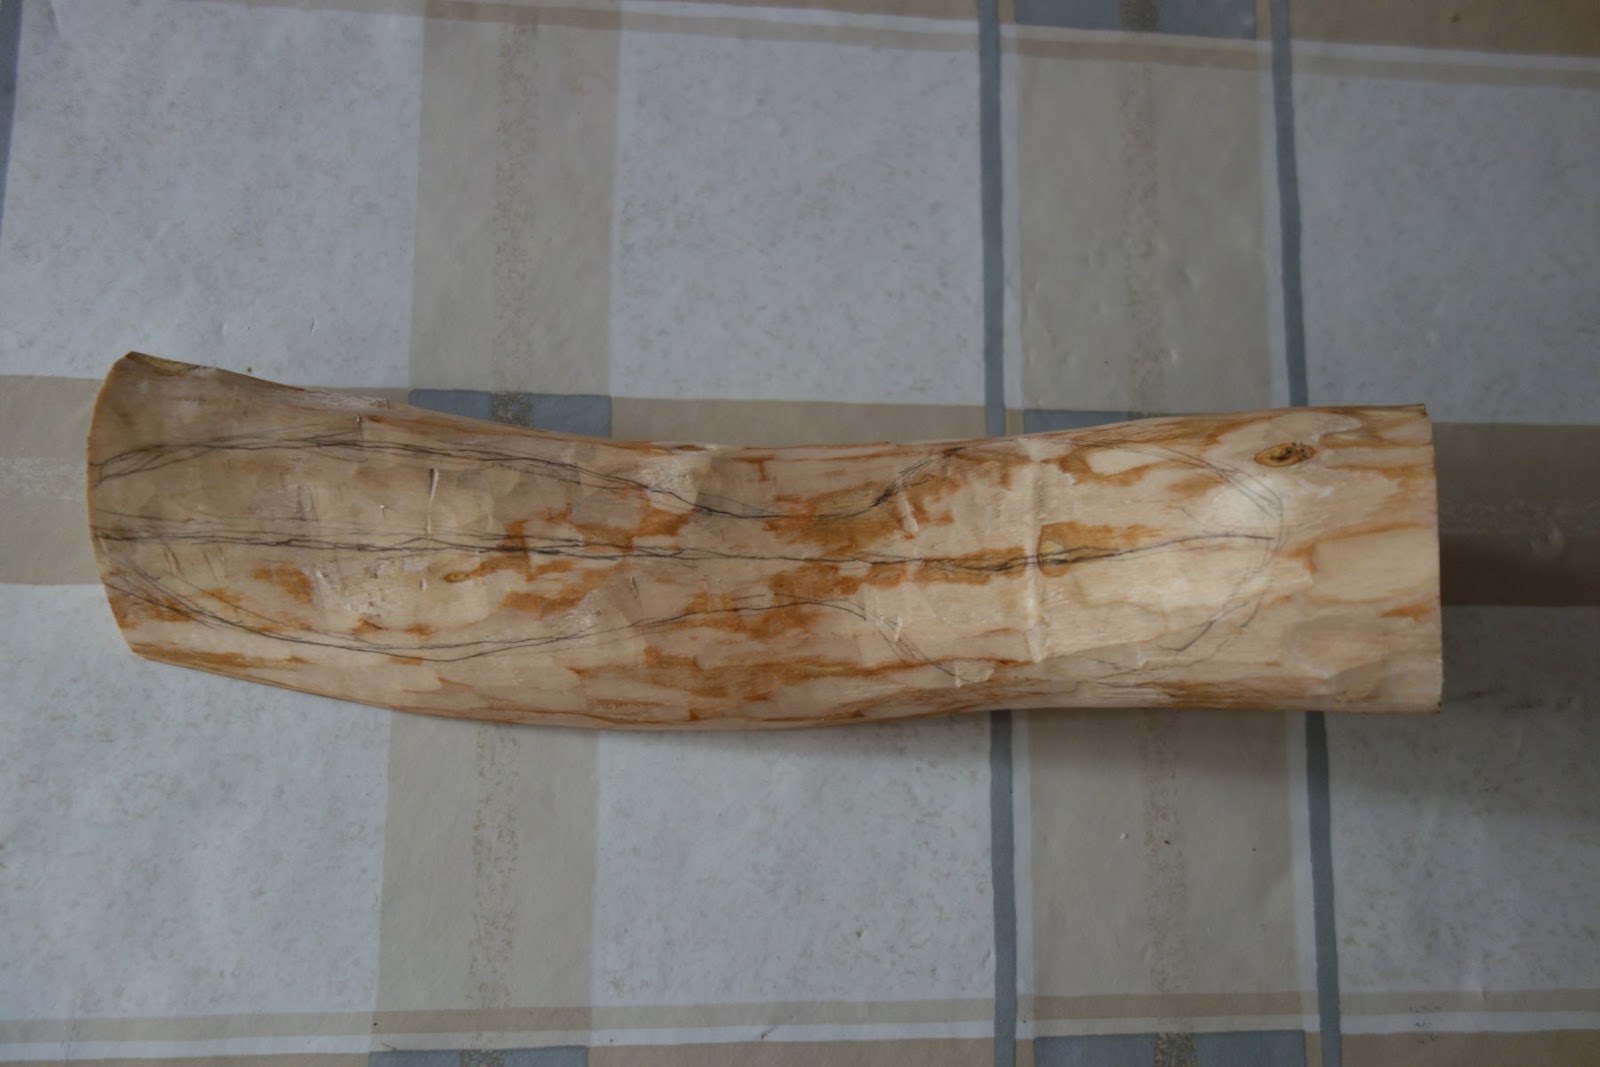
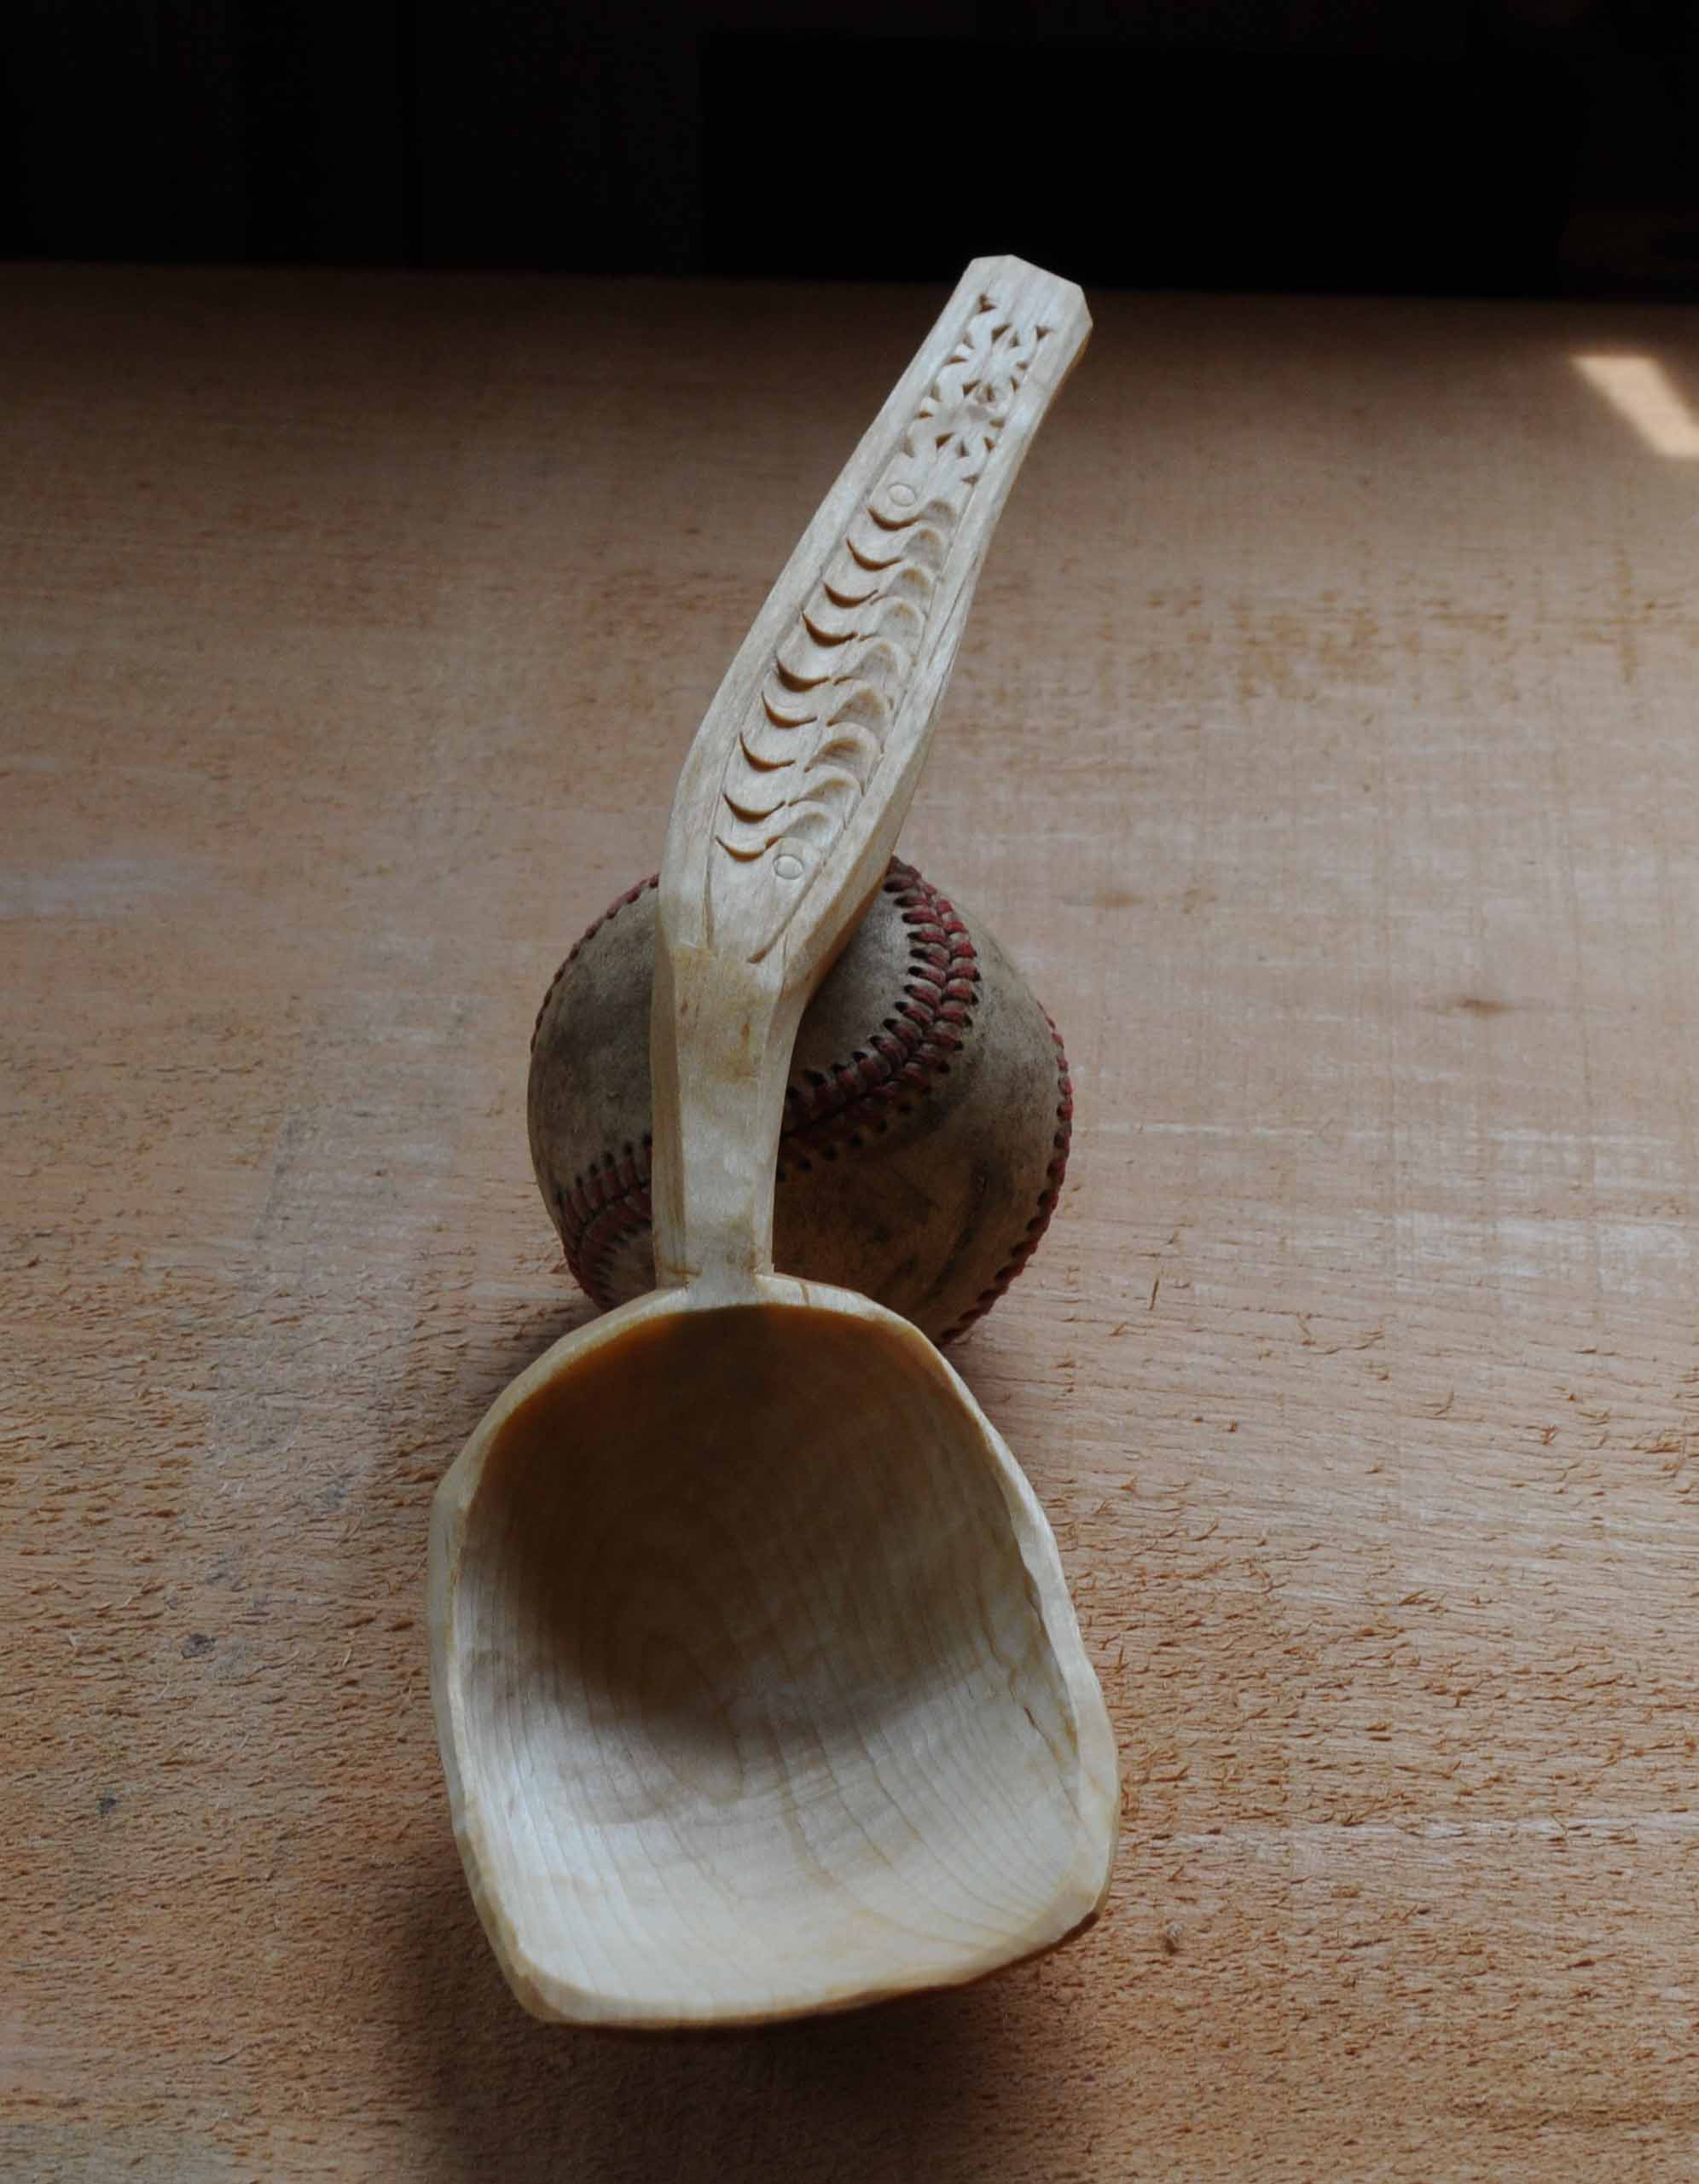
I went to Craftsmen days festival a few years ago and I noticed an amazing shepherd's shrink cup with a dragon head on the handle (these cups were traditionally used on mountain sheep farms for drinking žinčica, a drink from sheep milk whey). They are usually decorated with figures of sheep, shepherds or bears, but I consider dragons much more cool. I didn't buy the cup, it was quite expensive - but I noticed that the bottom was from a different piece of wood, fitting so tightly that it was waterproof. And I tried to find out how it was made.
The maker's wife told me that the cup must be boiled in hot water to expand. A bottom from dry wood is inserted into a groove inside. When the wood dries, the cylinder shrinks tightly around the bottom.
I thought I could try it someday, so I asked how long the wood must be boiled, but the maker's wife didn't know. And when I asked her husband the same question, he looked at me like "You want to steal my trade secrets!" and he gave me very evasive answers.
But he had no idea what a stubborn person he'd just met.
So I tried to search on the internet... and I found nothing. Only much later I realized why there were no online instructions. The shepherds have always learned the carving skills personally, from one generation to another. Even today's makers learned their craft directly from the old masters. And no one ever realized that it could be done otherwise. After all, most of them don't even have their own website, not to mention facebook or instagram. So the whole craft of making shepherd's shrink cups is practically ignored by a new generation of people who find everything online.
And I think it's about time to change it.
14 October 2017
Olive Branch, Part Two
This week I've finished the second spoon from the bent olive branch. I used the inner half of the crook again because the outer part was full of knots.
In this case the top surface of the branch is rounded but you need a flat top for the spoon. So first you have to remove about half of the thickness from the top. The result looks like a miniature wooden ski. Then you can carve the handle and the bottom of the bowl.
Here is the finished spoon, also together with the previous one from the same branch. The new spoon is smaller because the branch was much more narrow there. For a moment I even thought that there won't be enough wood left between all those hidden knots... but everything turned out well.
In this case the top surface of the branch is rounded but you need a flat top for the spoon. So first you have to remove about half of the thickness from the top. The result looks like a miniature wooden ski. Then you can carve the handle and the bottom of the bowl.
Here is the finished spoon, also together with the previous one from the same branch. The new spoon is smaller because the branch was much more narrow there. For a moment I even thought that there won't be enough wood left between all those hidden knots... but everything turned out well.
15 September 2017
A Holiday Souvenir
Other people usually bring sea shells, fridge magnets or bottles of some local booze from their vacation. This time we brought a broken olive branch that we've found during our trips on Krk island. (Well okay, we also brought some pebbles from the beach...)
I cut the branch into two bent pieces. One of them is already split and prepared for carving on the picture below.
Sometimes you have to shape the bent branch properly, otherwise you end up with a spoon that looks crooked.
And here is the result. The branch was too thin to have the typical wavy pattern of olive wood, but it was just as hard as heartwood. I also realized that only dead wood from some side branches had the typical olive smell. So I think that an olive tree uses the aromatic oils to preserve the inactive parts of wood from decay.
I cut the branch into two bent pieces. One of them is already split and prepared for carving on the picture below.
Sometimes you have to shape the bent branch properly, otherwise you end up with a spoon that looks crooked.
And here is the result. The branch was too thin to have the typical wavy pattern of olive wood, but it was just as hard as heartwood. I also realized that only dead wood from some side branches had the typical olive smell. So I think that an olive tree uses the aromatic oils to preserve the inactive parts of wood from decay.
30 July 2017
Pink that Won't Last
I carved a new spoon from plum wood using my favorite design:
Before you start wondering about the pink color of wood, I'll tell you what it will look like in a few months. You can see this spoon from the same log on the picture below. The end of the handle is not completely brown yet because I store it in a cup handle down, so the light does not shine on it very much.
So the only way to keep the bright colors is to store the spoon in a dark room and keep it away from the daylight forever :)
Before you start wondering about the pink color of wood, I'll tell you what it will look like in a few months. You can see this spoon from the same log on the picture below. The end of the handle is not completely brown yet because I store it in a cup handle down, so the light does not shine on it very much.
So the only way to keep the bright colors is to store the spoon in a dark room and keep it away from the daylight forever :)
5 July 2017
Beech from the Freezer
The green beech wood that I've brought from the forest in spring is now split into smaller pieces and stored in the freezer. I took the pieces out one by one and used them for carving. (They were in the freezer because the wood stays wet that way and it is much easier to carve.)
This shape of cooking spoon is inspired by two great carvers: Yoav Elkayam and Jojo Wood. Apart from flat spatulas, this is the first cooking spoon design that I'm happy with. I will surely make more spoons like this.
This spoon is made according to medieval Spanish spoons from Robin Wood's blog. I just changed the handle ending because I don't like the original one :)
This shape of cooking spoon is inspired by two great carvers: Yoav Elkayam and Jojo Wood. Apart from flat spatulas, this is the first cooking spoon design that I'm happy with. I will surely make more spoons like this.
This spoon is made according to medieval Spanish spoons from Robin Wood's blog. I just changed the handle ending because I don't like the original one :)
1 May 2017
A Wood without Surprises
This spring I brought another beech log from the forest (because the lumbejacks always throw away so much fine wood). It is almost perfectly straight, without knots, worm holes, black pieces and... completely without surprises. It's really a pleasant change :)
And here is the first spoon from it:
I tried to imitate this spoon, but it still seemed a bit bland to me, so in the end I gave it a little decoration.
And here is the first spoon from it:
I tried to imitate this spoon, but it still seemed a bit bland to me, so in the end I gave it a little decoration.
Peach Couple
These are two spoons from peach wood, a commission for a married couple. The peach wood has variable colors and patterns, so each spoon is unique, even though they are carved from the same log.
Thanks to these spoons, I've also put my wood pile in order and I've split almost everything that could be split. So now I have a large stock of spoon blanks instead of logs :)
Subscribe to:
Posts (Atom)