Before applying the lard, first finish the outer walls and taper the rim, so that it fits the mouth nicely while drinking.
Melt the lard in a saucepan - it doesn't have to be very hot, just make it liquid. You need about a teaspoon of lard for one shrink cup. Pour the melted lard into the cup and back to the pan so that all the walls are greased. Wipe off the rest with a paper towel and let it set for several days in a warm place. Some shepherd's shrink cups were smoked to have a nice color and last longer. Some of them turned completely black after a long time and repeated smoking.
Then you just need to carve a handle. You can use any hard and durable wood (like fruitwood or maple) and choose whatever decoration you like. Personally I consider many current shepherd's shrink cups overdecorated. And I also think that the handle should be comfortable to hold.
Prepare a board about 1,5 cm thick. Drill a hole as wide as the thickness of the cup's rim about 0,5 cm from the side. Then carve the side like this:
Extend the hole downwards so that you create a hook which will hold on the cup's rim.
The side of the handle should be slightly concave to fit well on the round side of the cup. You can do it with a carving gouge or a spoon knife. Also chamfer the inside of the hook. Try to put it on the cup (mark the exact place where it fits best) and gradually adjust the hook. If you carve it well, the handle will hold more or less tightly on its own.

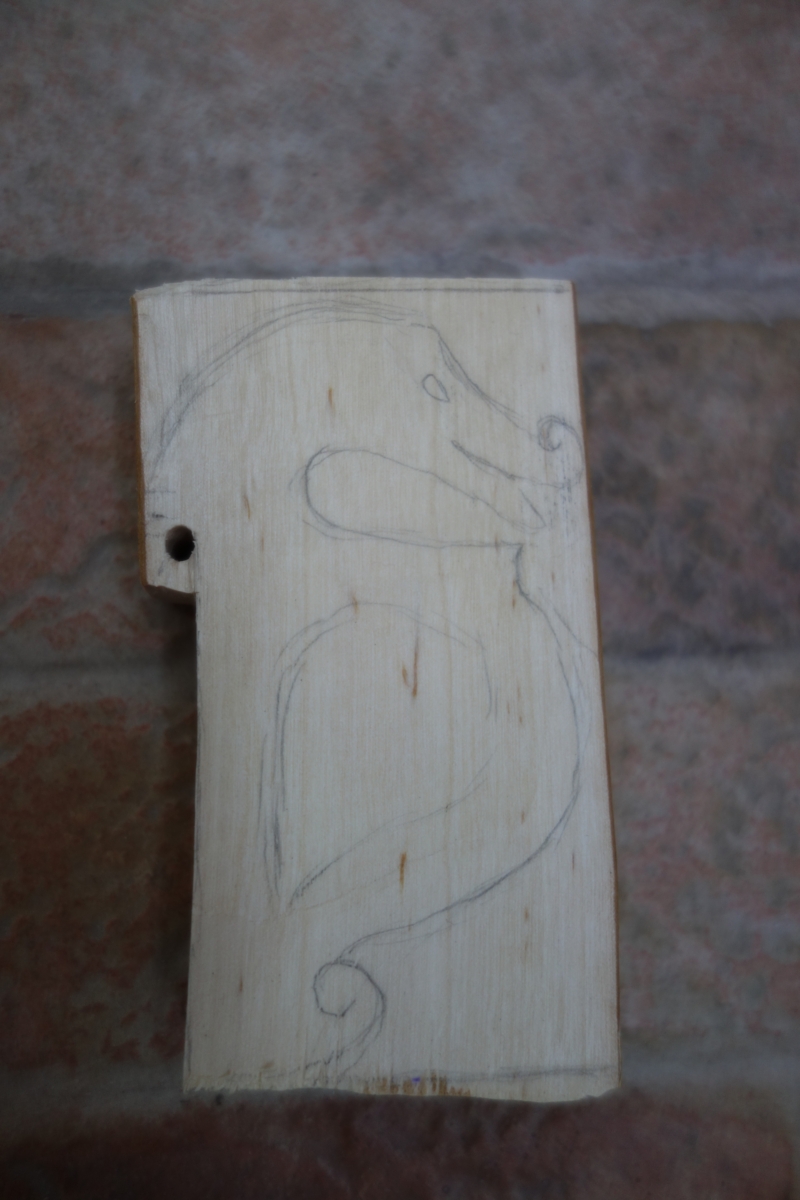
Draw the pattern of the handle and cut out the basic shape with a fretsaw. If you don't have one or if you are as clumsy with a fretsaw as me, you can drill a few holes in proper places and remove the wood around them with a knife.
If the handle is wide and heavy, it should reach down for better stability. Also make it fit nicely in your hand and taper the corners.
Make a thin hole on the lower end where the handle meets the cup. You'll spread the brass hoop there. All the cylindrical cups have the brass hoop fixed a little above the bottom of the cup, which gives you an opportunity to decorate the lower rim.
Next time we will tinker at some metalworking.
No comments:
Post a Comment