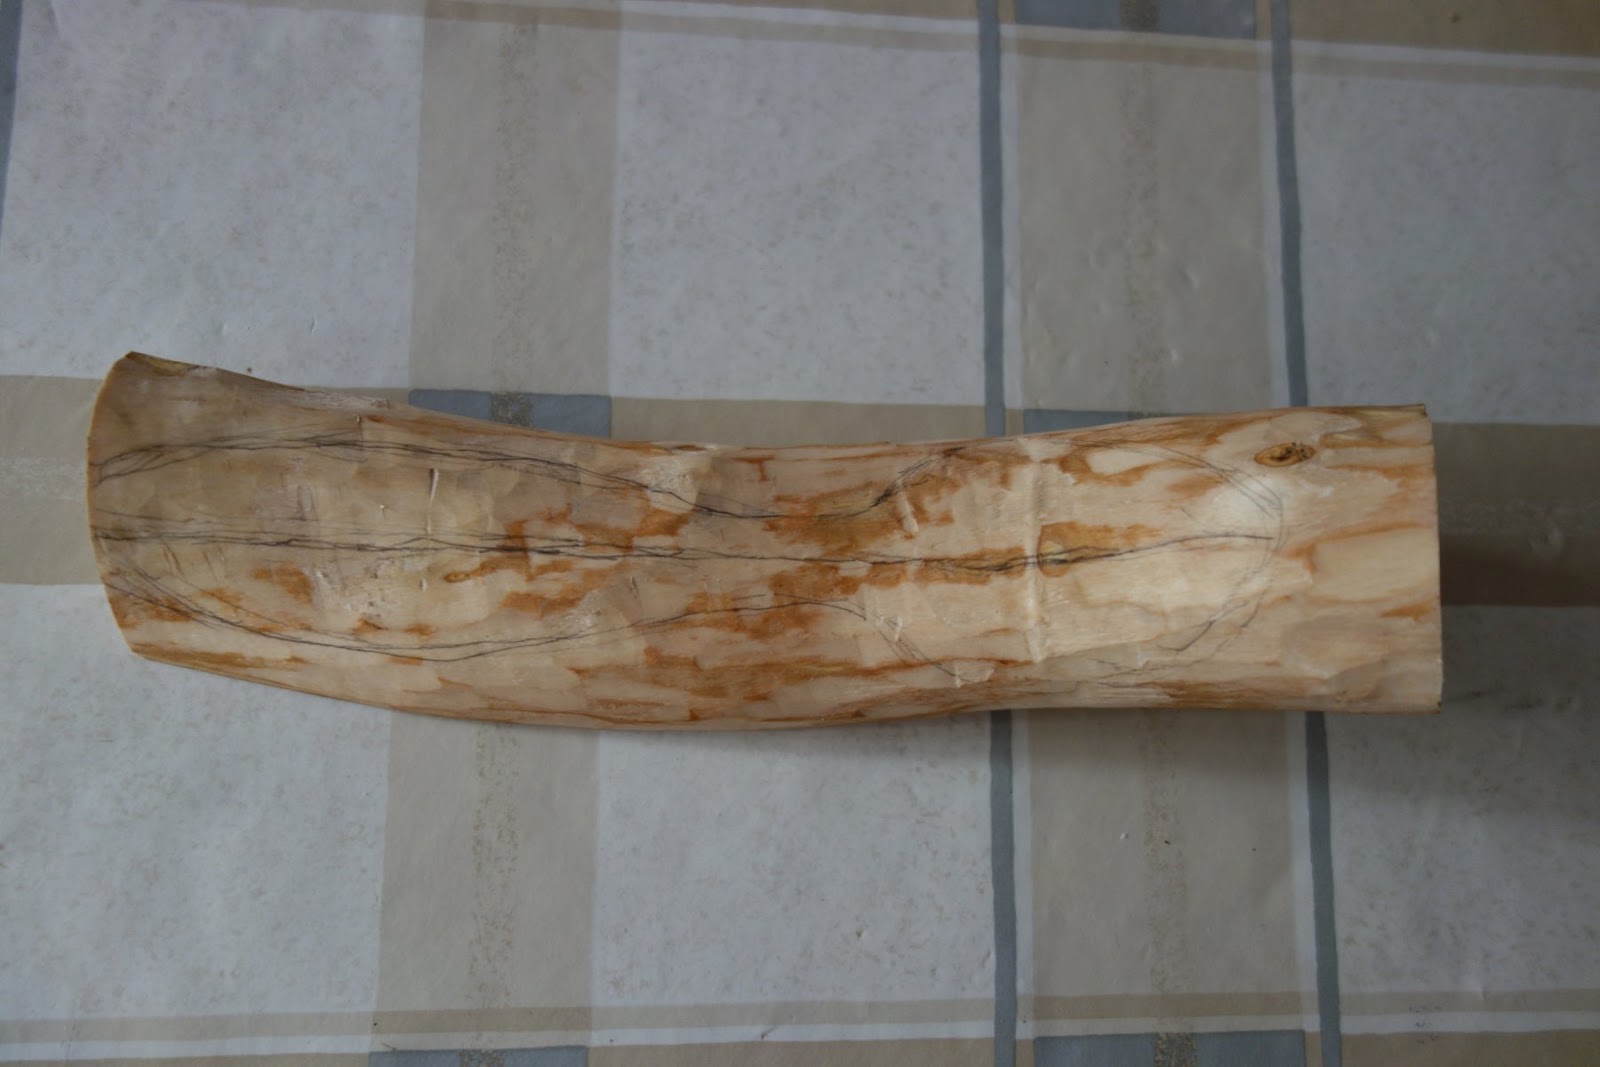
This is a Christmas present for my brother, a kuksa from birch wood. I have to admit that it was really hard work for me...
I found a piece of blackened wood inside the blank while I was hollowing it. I didn't know how deep it could go, so I bored it with Dremel and high speed cutter bits, as if it was caries in a tooth. The black wood almost reached the bottom of the kuksa, but luckily there was enough healthy wood left on the bottom, so I could go on with hollowing.
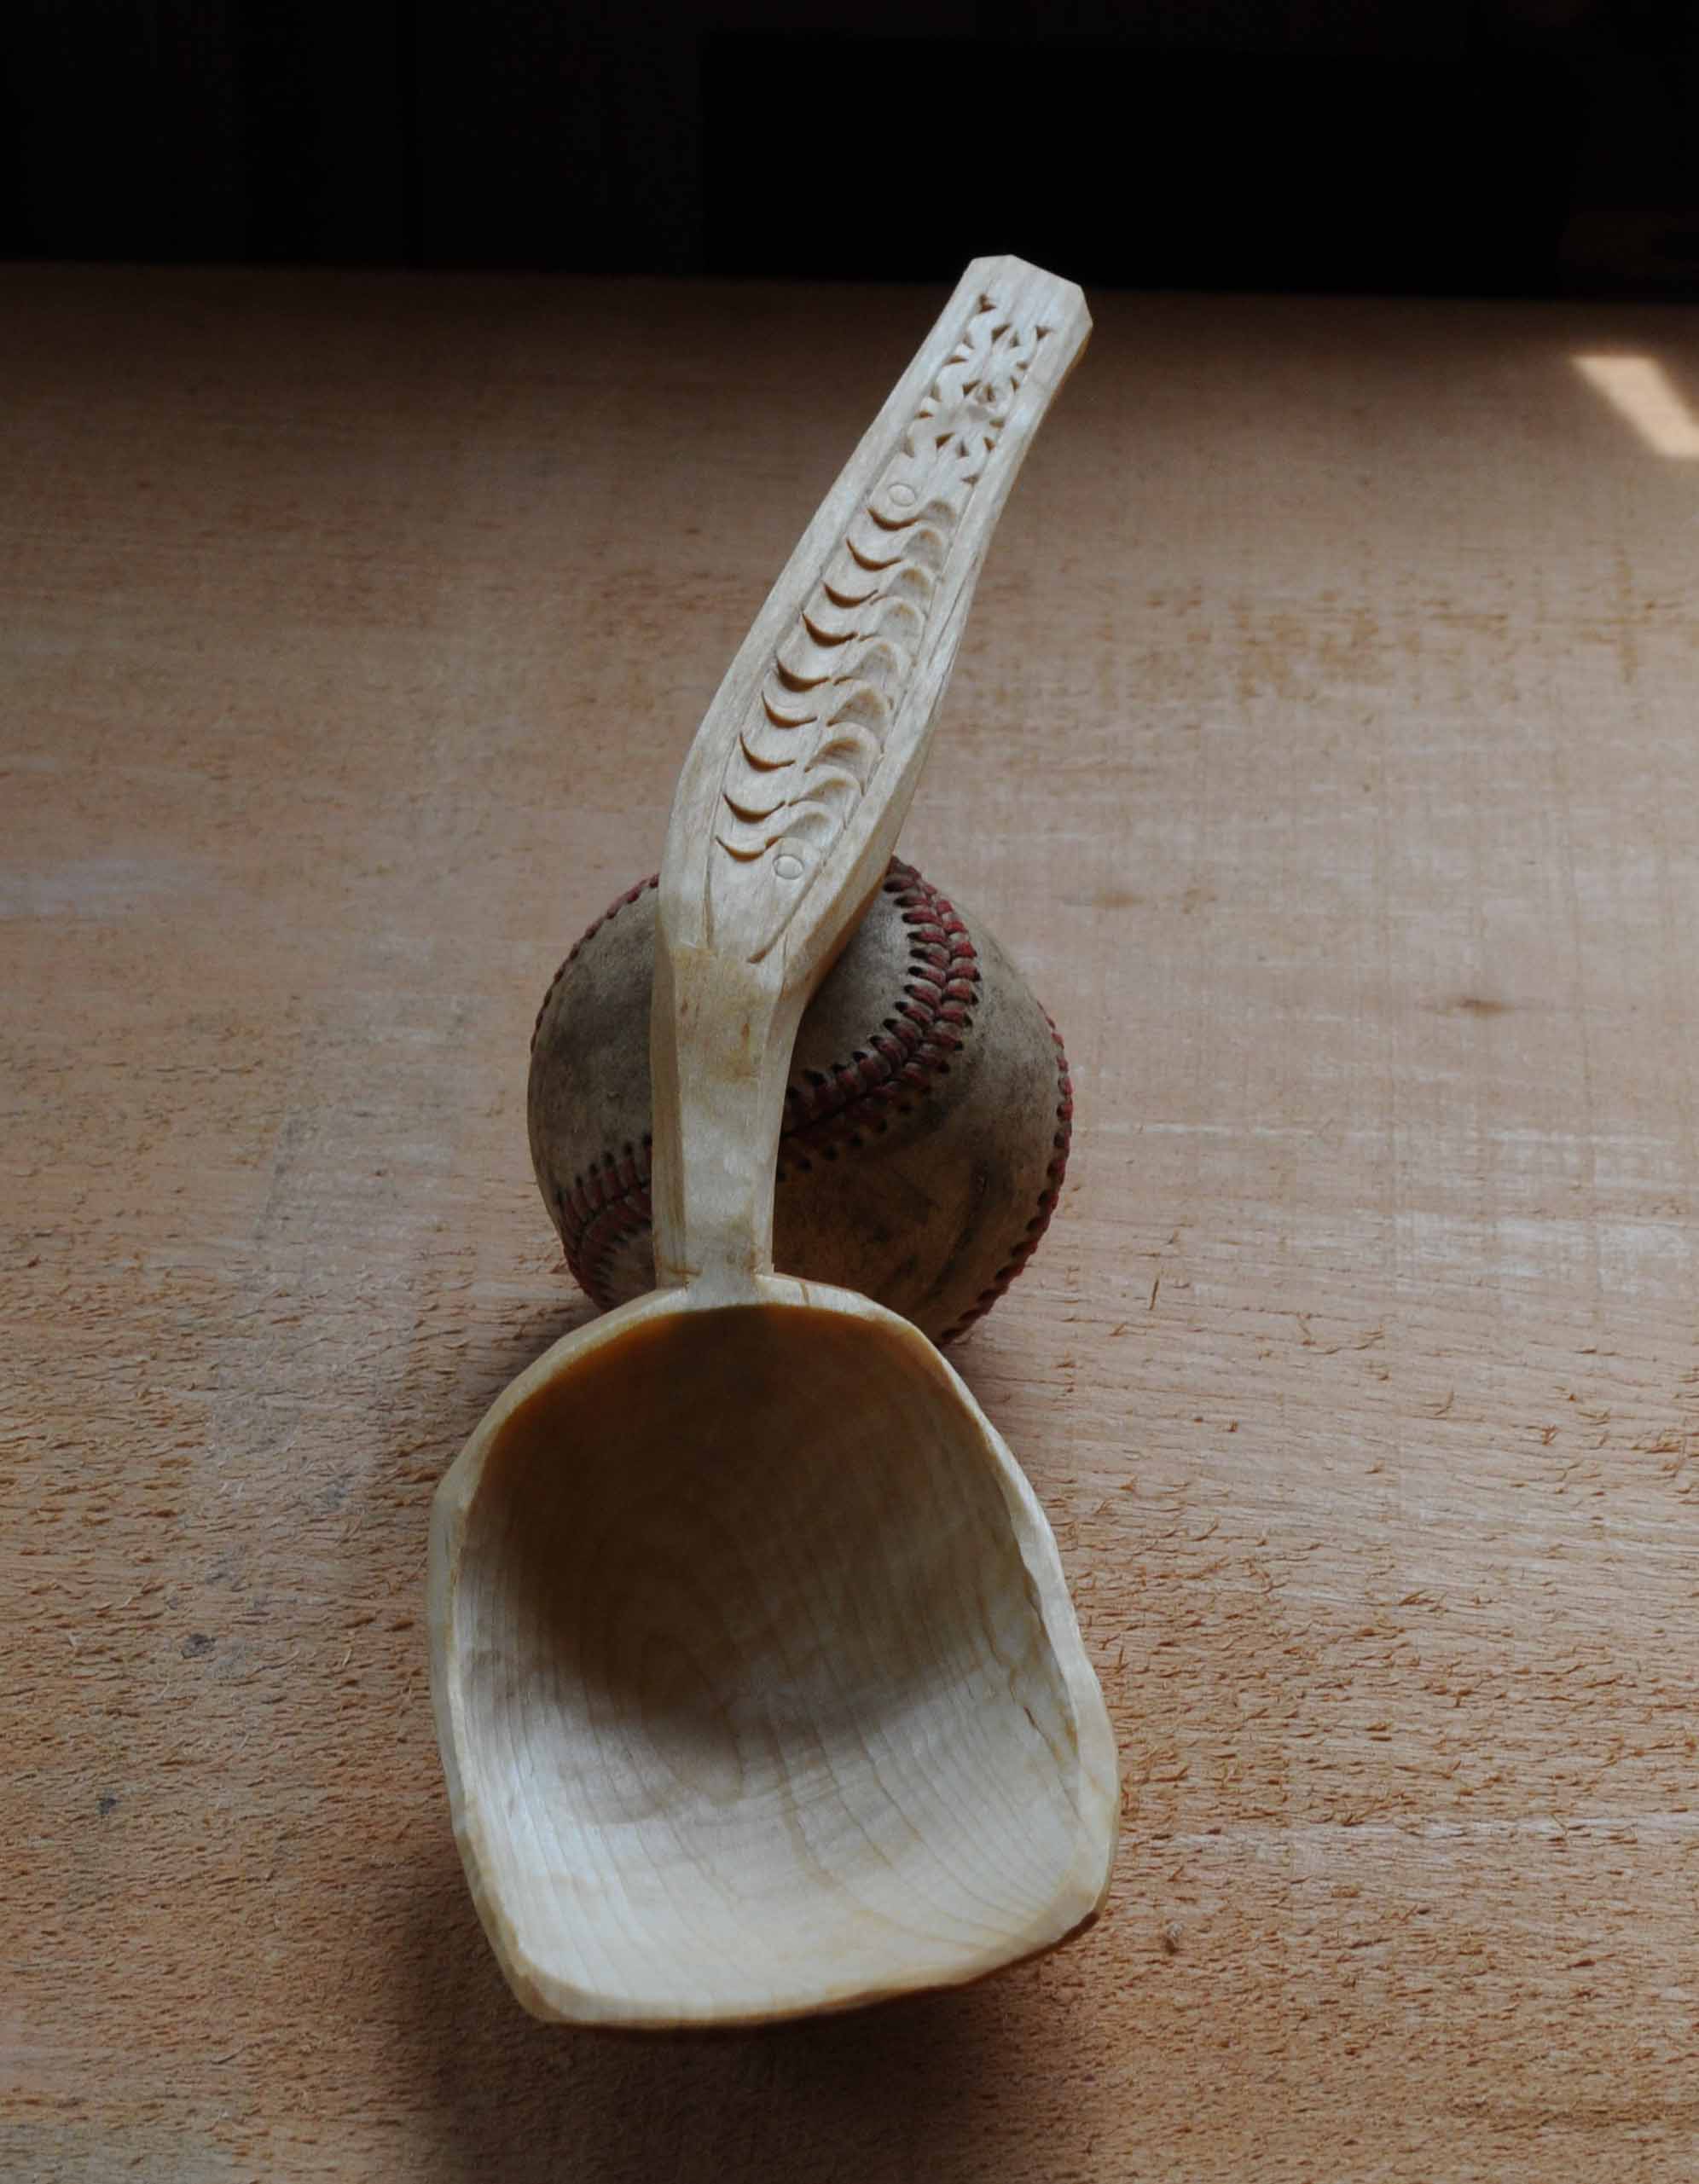
It was easier to carve the outside and the result started to look like a kuksa at last. And then there was sanding, unbelievably lengthy and tedious work. I sanded the inside using 1cm wide strips of sandpaper fixed to my thumb or forefinger with sticky tape.
I added some chip carving decorations to the handle and I felt like I was starting to understand the process better around the 10th tiny triangle I've made. I finished the kuksa with a mixture of oil and beeswax, which forms something like a thick ointment.
The wood itself looks interesting, it contains brown strips, which are phloem inclusions inside the wood. This can happen for various reasons. Such birch wood is very popular for carving in Finland because the strips can form interesting wavy patterns.


